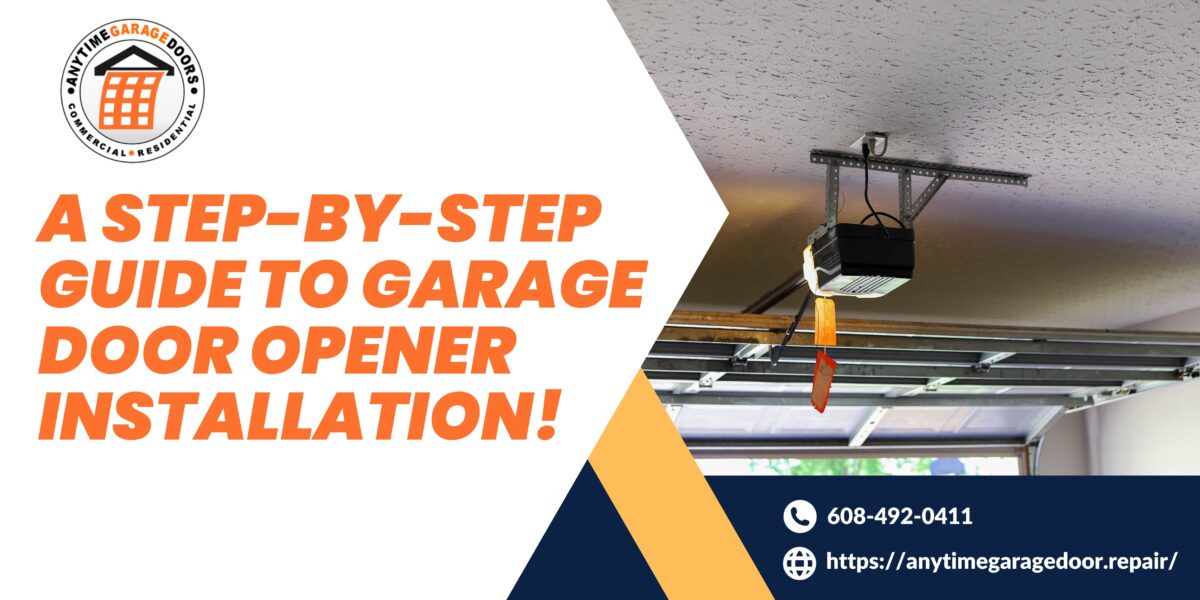
To improve the security of your home at a reasonable price, consider installing a garage door opener. You can install a garage door opener with the correct tools and materials and a systematic approach. We will follow the step-by-step guide to ensure the garage door opener installation goes smoothly.
Step-by-Step Procedure for Garage Door Opener Installation:-
1. Assemble Equipment:
First, Ensure you have all the Equipment for garage door repair in Madison, WI. This Equipment includes pliers, a level, a ladder, and a wrench. Additionally, see if the garage door opener kit has particular hardware and accessories.
2. Read the handbook:
Reading the manufacturer’s handbook that came with your garage door opener. Reading through the handbook will aid in your comprehension of the parts, how to install them, and the safety measures.
3. Examine Your Garage Door:
Verify the functionality of your garage door by giving it a thorough inspection. Before garage door opener installation, take care of any problems that may be present with the door or any of its parts. Ensure everything is balanced properly, oil any moving parts, and fix worn-out or damaged parts.
4. Put the header bracket in place:
Find and install the header bracket above the garage door’s center using the instructions provided as a guide in the handbook. Use lag screws and a power drill to make sure it is firmly fastened to the garage’s structural structure.
5. Put the Power Unit in Place:
Adhere to the manufacturer’s directions while mounting the power unit to the ceiling. To make sure the unit is horizontal, use a level. Ensure the unit is positioned to enable enough clearance for the garage door to open and close without interruption and secure it using the included straps.
6. Put the rail and trolley together:
Standard garage door opener kit components include a trolley mechanism that travels along the rail and a rail assembly connected to the power unit. Affix the trolley to the garage door and link it to the driving system of the opener.
7. Put the Sensor Eyes in place:
A safety sensor that detects impediments stops the door from closing on most contemporary garage door openers. Place these sensor eyes on either side of the garage door, making sure to align them so they can communicate with one another properly. As the manufacturer directs, connect the sensor wires to the opener unit.
8. Attach the Door Arm:
Ensure the door arm is firmly secured to the garage door and the trolley. The motion of the opener is transferred to the door via this arm, enabling smooth door opening and closing.
9. Electrical Connections and Wiring:
Connect the opener to the power supply by following the wiring instructions found in the manual. You usually need to run the required cabling along the ceiling and connect the power unit to an electrical outlet. When handling electrical components, use caution and get garage door repair Madison, WI, advice from an electrician if needed.
10. Examine the garage door opener:
After garage door opener installation:
- Ensure the garage door opener works properly by running a few tests.
- Check the safety sensors, wall-mounted control panel, and remote controls.
- Watch for any strange motions or sounds, and adjust as necessary.
In Conclusion, installing a garage door opener may appear difficult, but it can be done effectively if you take a systematic approach and carefully study the manufacturer’s instructions. To guarantee your garage door opener’s safe and effective operation, don’t hesitate to seek professional assistance if you run into any problems during installation.

