Categories
Garage Door Opener

To improve the security of your home at a reasonable price, consider installing a garage door opener. You can install a garage door opener with the correct tools and materials and a systematic approach. We will follow the step-by-step guide to ensure the garage door opener installation goes smoothly.

Step-by-Step Procedure for Garage Door Opener Installation:-

1. Assemble Equipment:

First, Ensure you have all the Equipment for garage door repair in Madison, WI. This Equipment includes pliers, a level, a ladder, and a wrench. Additionally, see if the garage door opener kit has particular hardware and accessories.  

2. Read the handbook:

Reading the manufacturer’s handbook that came with your garage door opener. Reading through the handbook will aid in your comprehension of the parts, how to install them, and the safety measures.

3. Examine Your Garage Door:

Verify the functionality of your garage door by giving it a thorough inspection. Before garage door opener installation, take care of any problems that may be present with the door or any of its parts. Ensure everything is balanced properly, oil any moving parts, and fix worn-out or damaged parts.

4. Put the header bracket in place:

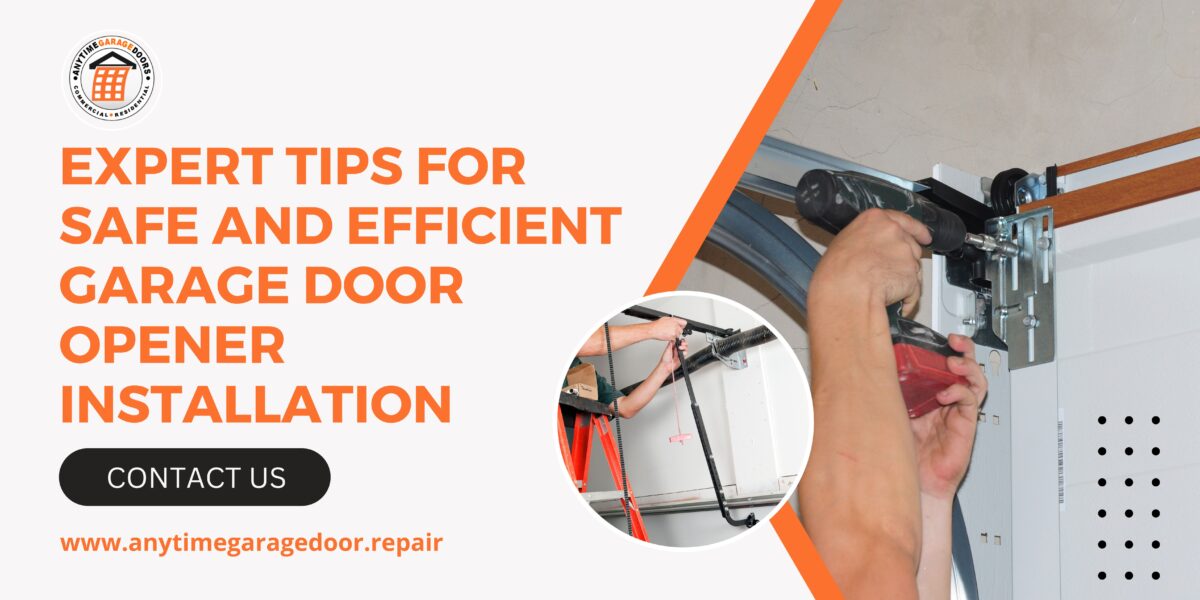
Find and install the header bracket above the garage door’s center using the instructions provided as a guide in the handbook. Use lag screws and a power drill to make sure it is firmly fastened to the garage’s structural structure.

5. Put the Power Unit in Place:

Adhere to the manufacturer’s directions while mounting the power unit to the ceiling. To make sure the unit is horizontal, use a level. Ensure the unit is positioned to enable enough clearance for the garage door to open and close without interruption and secure it using the included straps.

6. Put the rail and trolley together:

Standard garage door opener kit components include a trolley mechanism that travels along the rail and a rail assembly connected to the power unit. Affix the trolley to the garage door and link it to the driving system of the opener.

7. Put the Sensor Eyes in place:

A safety sensor that detects impediments stops the door from closing on most contemporary garage door openers. Place these sensor eyes on either side of the garage door, making sure to align them so they can communicate with one another properly. As the manufacturer directs, connect the sensor wires to the opener unit.

8. Attach the Door Arm:

Ensure the door arm is firmly secured to the garage door and the trolley. The motion of the opener is transferred to the door via this arm, enabling smooth door opening and closing.

9. Electrical Connections and Wiring:

Connect the opener to the power supply by following the wiring instructions found in the manual. You usually need to run the required cabling along the ceiling and connect the power unit to an electrical outlet. When handling electrical components, use caution and get garage door repair Madison, WI, advice from an electrician if needed.

10. Examine the garage door opener:

After garage door opener installation:

  • Ensure the garage door opener works properly by running a few tests.
  • Check the safety sensors, wall-mounted control panel, and remote controls.
  • Watch for any strange motions or sounds, and adjust as necessary.

In Conclusion, installing a garage door opener may appear difficult, but it can be done effectively if you take a systematic approach and carefully study the manufacturer’s instructions. To guarantee your garage door opener’s safe and effective operation, don’t hesitate to seek professional assistance if you run into any problems during installation.

Categories
Garage Door Opener

Garage door openers are a cornerstone of extensive home security and often unnoticed in terms of potential safety concerns. These heavy-duty objects can sometimes impose security breaches and risks to people and their property if they are irregularly handled. To ensure optimal safety, house owners must regularly inspect their garage doors, focusing on important key assets, such as door openers and sensors. With time, garage door opener performance fades and requires smooth replacement or installation. 

To know more about the complete garage door opener installation process, continue reading this blog till the end. 

Valuable Tips for a Safer Garage Door Opener Installation

Check out these expert tips for hassle-free and easier garage door opener installation services in Madison, WI, with efficient functioning. Furthermore, we will clarify the genuine guidelines and some pro advice to help you get the installation on the right track. 

Step 1. Ensure all parts are working properly

If your door opens slowly or makes a lot of noise, the problem might be related to something other than your opener. So, before you purchase a new garage door opener, check for broken rollers and brackets. Don’t try to replace the bottom roller bracket yourself, as it is dangerous, and the cable is attached with extreme tension. To tackle such a scenario, you must call a pro company that offers garage door service Madison, WI. Next, inspect the torsion spring to see whether it is broken. If one spring breaks or fails, you will see a gap in the coils. It’s better to replace it within time.

Step 2. Inspect the door balance

Check that the garage door is balanced. Please close the door and pull the emergency release rope (always close it first to prevent it from collapsing). Push the door halfway up and then let go. The door should stay the same. If it moves up and down, the torsion spring must be tightened.

Step 3. Select the right door opener

Once the door balance is inspected or checked, finalizing the garage door opener is next. All garage door openers come with a screw drive and chain drive that gives so-real strength for efficient functioning. 

Step 4. Use heavy-duty angle iron

Garage door openers come with everything you require for the garage door opener installation process. Unfortunately, the included mounting straps are often so tricky that they can easily bend them with your hand’s force. For better assistance, buy a slotted angled iron at a hardware store. Then, cut it to the required size with a hacksaw. Angle iron provides a stronger installation and minimizes vibration, extending the opener’s life span.

Step 5. Replace overall components

After you check whether the components are properly working, replace the entire set of components carefully.

Step 6. Check the garage door’s opening torque

In this move, you need to inspect the door’s opening force. To test this, rest your foot on the door handle near the floor and open the door via remote control. When the door pulls up against your foot, it stops immediately with little pressure. If the door continues to open, alter the force.

Step 7. Tweak the opening and closing force

The opener’s guidelines instruct you to place a 2×4 on the floor under the door center and then close it. When the door touches the wood, it should pause and then play. Proper closing ensures that if something is in the door’s path, the door won’t crash. Now the locations of the opening and closing force screw adjustments. On the front of our item, there are two screws. When changing the opening or closing force, spin the screw about 1/8 in. before rechecking the force. Raise the opening force if the door begins to open and then stops on its own.

Step 8. Fix a reversing door

At last, try to fix the door reversing when it’s closing and even when nothing obvious is blocking the photoelectric eyes. If your closure force is properly calibrated, the issue is nearly always the photoelectric eyes. The eyes are extremely sensitive, and even cobwebs can cause problems.

To fix this, ensure the eyes are still in proper alignment and then guarantee they are clean and the roadmap between them is clear. After that, please look at the loose wires in the eyes and the opener. 

In that manner, you can get hassle-free and efficient garage door installation.

Final Thoughts!

Garage door openers are considered the most valuable asset, and we can say they are the heart of a garage door system. It helps you to open and close the door automatically with the help of a remote control. But when it fails, the entire system shakes and needs regular maintenance. In this blog, we elaborated on the entire garage door opener installation and its significance in a detailed manner to understand the hierarchy of opener functioning